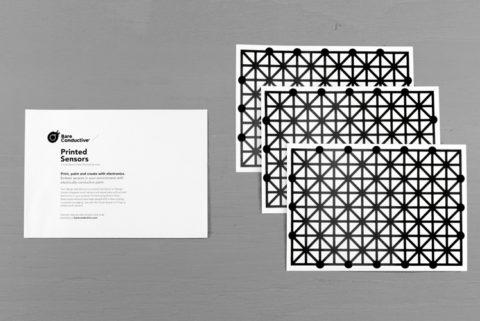


Printed Sensors are screen printed with Electric Paint and coated with a clear seal to prevent the paint from smudging. They are a great way to make touch and distance sensors straight out of the box, without the need for painting or getting into the nitty-gritty of Electric Paint.
If you want to find out more about how these sensors work and how to use them, then you’ve come to the right place. In this tutorial, we’ll explain the sensors’ different features, and show you how to get started.
Step 1
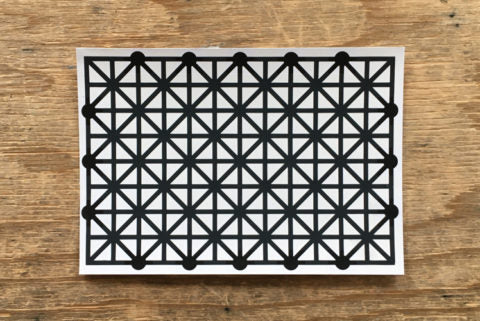
The pattern
You might be wondering whether the pattern printed on these sensors is functional. The answer is yes, and no. We specifically selected this criss-cross design because paint coverage and pattern can influence the performance of a sensor. However, this doesn’t mean that different patterns won’t work just as efficiently. It all depends on what you’re looking to detect.
If you want to design your own sensors you don’t have to stick to this pattern. For more information on Sensor Design have a look at our tutorial about best practice here.

Step 2
The sealing coat
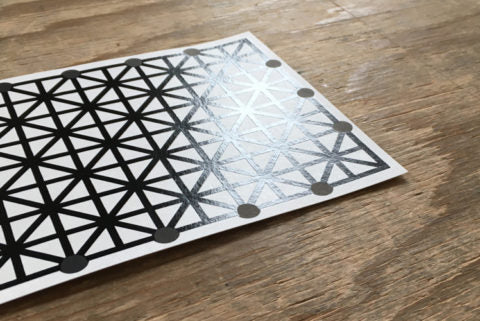
One of the features that makes these printed sensors so special is that they have been sealed with a clear coat. This thin cover protects the Electric Paint, and prevents it from smudging and cracking.
If you hold the sensors against the light or if you pass your fingers over the surface, you can see that there are some areas of the sensor which are uncoated.

Step 3
Access nodes
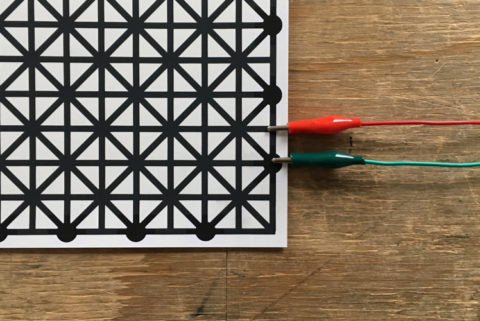
The circular nodes around the edges of the printed sensors don’t have a sealing coat. These are the access nodes. Connections made to the sealed areas might influence the paint’s performance, so make sure to always connect to the nodes.
The red crocodile clip shown in the picture on the right is clipped to the coated area and the green clip shows a good connection to the conductive node. When connecting to the access nodes, remember that they aren’t sealed, so beware of any smudging!

Step 4
Cutting custom shapes
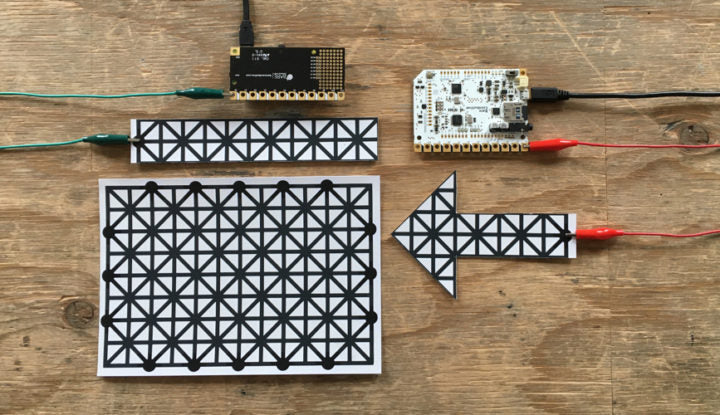
You can cut printed sensors into smaller squares or different shapes. Be creative with your sensors, and customise them to your specific project. You can cut out arrows, circles, smiley faces, or whatever shape you like!
When cutting your shapes, make sure to include at least one access node for your sensor.

Step 5
Connect to the Touch Board or Pi Cap
The quickest way to connect Printed Sensors to the Touch Board or Pi Cap is with crocodile clips. Simply attach one end of the crocodile clip to one of the electrodes and the other end to an access node.
If you want to design your own sensors, we suggest you try screen printing. This method deposits an even and thin layer of Electric Paint which is more flexible and less prone to cracking. You can find a tutorial on screen printing here.
If you then want to seal your sensors we also have a tutorial that shows a few options here. If you chose to seal your sensors, remember to leave some access nodes to connect to.